Concrete Surface Preparation in El Paso, TX: The Key to Long-Lasting Pavement

Ever seen a cracked sidewalk that looks like a roadmap of regret? Or a driveway so rough it feels like off-roading on the moon? That’s what happens when concrete prep gets skipped.
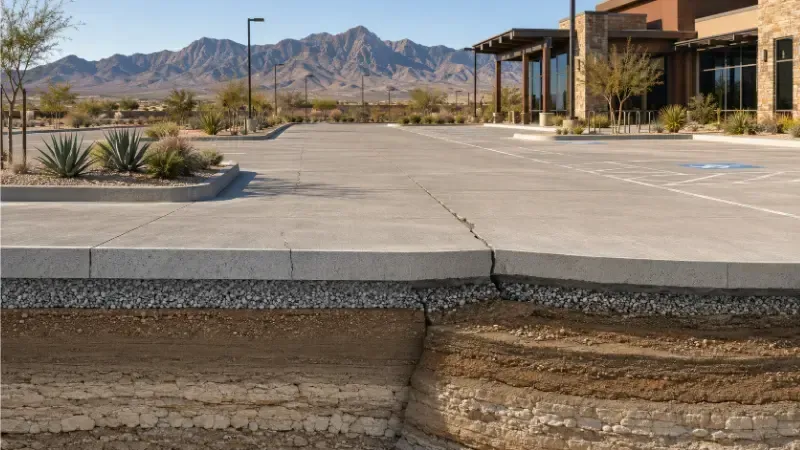
Concrete is strong. But it's not invincible. Without proper prep, it won’t last long. It cracks. It crumbles. It wears down faster than it should. And before you know it, that "solid" surface starts falling apart.
The secret to strong, long-lasting pavement? A rock-solid foundation. And that starts with prepping the surface the right way. Let’s get into the nitty-gritty of concrete surface prep. Because it’s the secret to pavement that actually lasts.
What Is Concrete Surface Preparation?
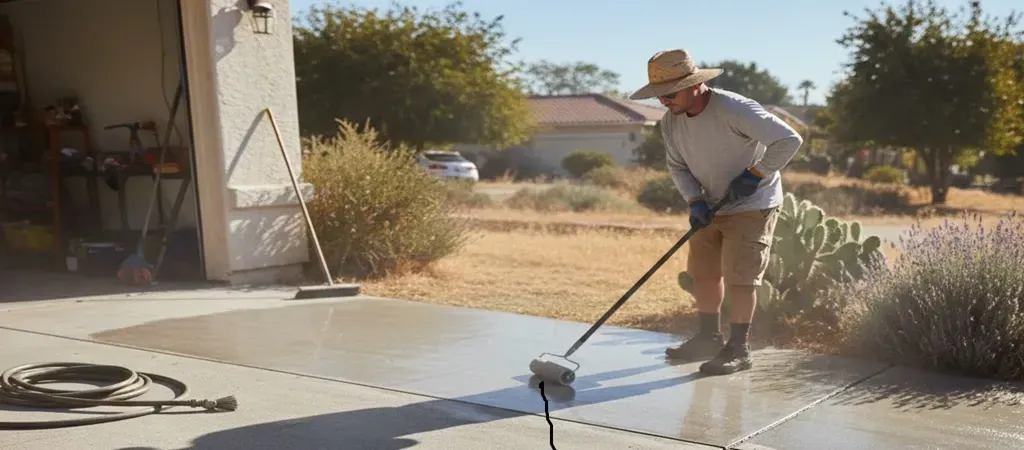
Let's say you are painting a wall. Would you slap paint on a dusty, peeling surface? Nope. You’d clean it, smooth it, and prime it first. Concrete works the same way. Proper surface prep removes dirt, grease, and old coatings. It also ensures a strong bond between the old and new concrete. Skip this step, and your pavement will fail—guaranteed.
Curious how weather affects concrete curing? It plays a big role in how well surface prep holds up. Learn more about how weather conditions affect concrete pouring and curing.
The Big Problem With Skipping Surface Prep
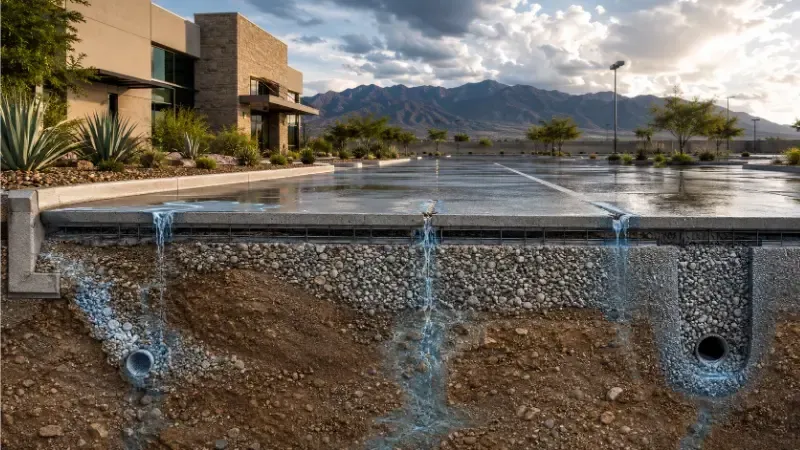
Bad prep leads to big problems. If concrete isn’t cleaned and treated right, it won’t bond properly. That means cracks, potholes, and ugly, weak pavement.
Here’s what happens when concrete is not prepped well:
- Layers peel off like a bad sunburn.
- Water sneaks in. Cracks form. Freeze-thaw cycles make them even worse.
- Stains, oils, and debris look bad. They also sabotage the bond. Weak prep means weak concrete.
Proper prep is a major part of enhancing concrete durability. Skipping it is asking for trouble.
Avoid these headaches by following the right prep steps.
The Step-By-Step Guide to Perfect Concrete Surface Prep
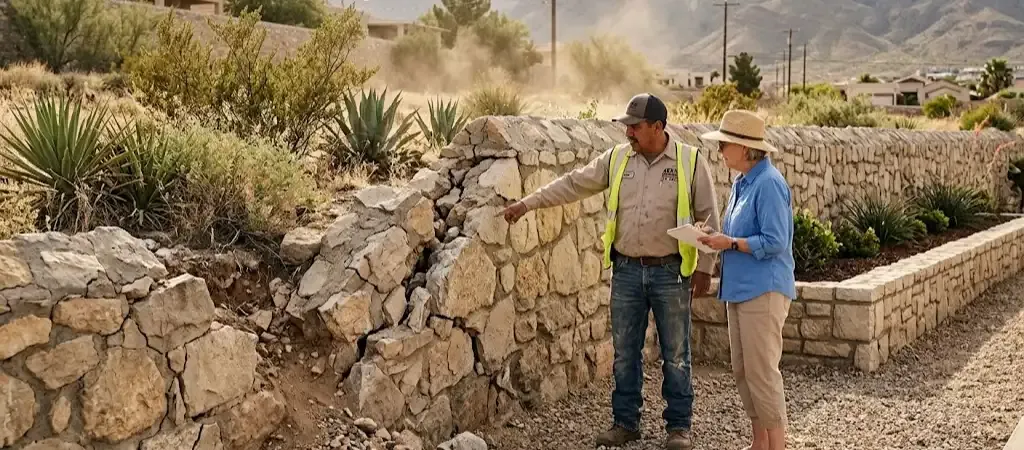
1. Assess the Surface Like a Pro
Before you do anything, inspect the surface. Look for:
- Cracks and potholes
- Grease and oil stains
- Uneven or rough areas
This helps you decide the best method for prepping.
2. Clean It All
Dirt and grease ruin pavement faster than anything. Cleaning is a must.
- Pressure washing blasts away loose dirt and grime.
- Degreasers break down oil and fuel stains.
- Vacuuming removes fine dust particles.
A clean slate is key. No dirt, dust, or debris. A spotless surface sets the stage for pavement that lasts.
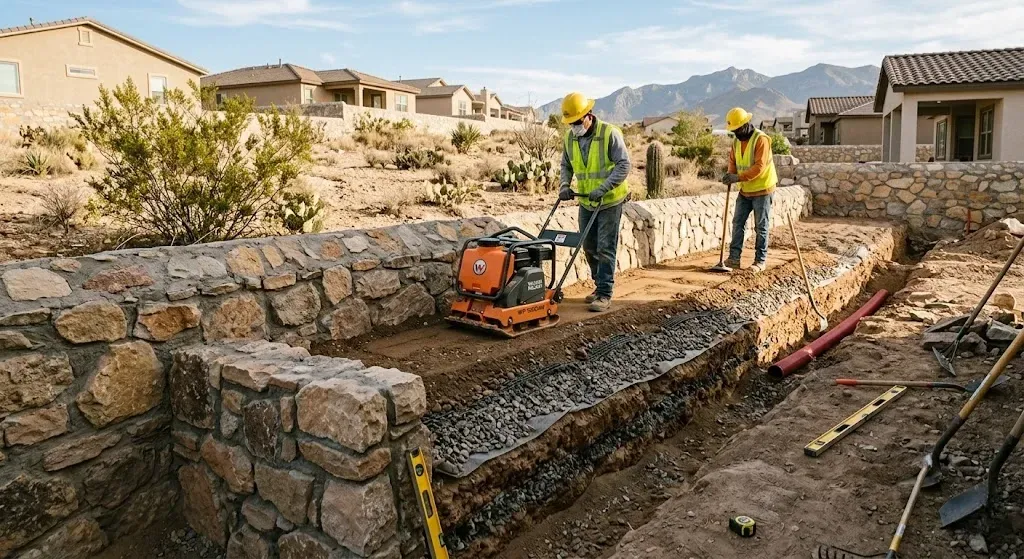
3. Fix What’s Broken
Got cracks? Fill them. Spalled or chipped areas? Patch them. Uneven spots? Grind them down.
Repairing the damage before applying a new layer makes sure your pavement stays smooth and strong.
For surfaces like concrete driveways, addressing imperfections early prevents major repairs later.
4. Pick the Right Surface Profile
Not all concrete surfaces are the same. Some need to be rough for coatings to stick. Others should be smooth for finishing touches.
The International Concrete Repair Institute (ICRI) has a system called Concrete Surface Profiles (CSP). It ranges from CSP 1 (very smooth) to CSP 10 (extremely rough).
Choosing the right texture helps coatings bond properly and last longer.
The Best Methods for Concrete Surface Preparation
Different surfaces need different techniques. Here are the top methods:
1. Grinding – Smooth It Out
Perfect for leveling out surfaces and removing coatings. Diamond grinders make quick work of rough spots.
2. Shot Blasting – Tough and Effective
This method shoots tiny steel balls at high speed to clean and roughen the surface. Great for preparing pavement for overlays.
3. Scarifying – When You Need Extra Texture
Scarifiers use spinning blades to remove old coatings and create a rough profile. Ideal for resurfacing heavily damaged concrete.
4. Hydrodemolition – High-Tech and Precise
This uses high-pressure water jets to remove damaged concrete without cracking the good parts. It’s clean, dust-free, and preserves structural integrity.
5. Acid Etching – Chemical Surface Prep
For light preparation, acid solutions eat away the top layer of concrete, exposing fine aggregates. Just be careful with runoff—environmental regulations apply!
Need to know when to choose concrete over other materials? Check out our guide on choosing concrete for patios and why prep makes all the difference.
Choosing the Right Method for Your Project
So, which method should you use? It depends on:
- The type of surface (new, old, damaged?)
- The final coating (thin overlays need smoother profiles, while thick coatings need rougher ones)
- The project’s environment (indoor, outdoor, high-traffic areas?)
Matching the right prep method to the job makes all the difference.
Pro Tips for Flawless Concrete Surface Preparation
Want your pavement to last? Follow these golden rules:
- Never rush the cleaning stage. A dirty surface means poor adhesion.
- Test surface roughness. Make sure the profile matches the application's needs.
- Check for moisture. Concrete holds water. Make sure it’s dry before applying coatings.
- Use proper safety gear. Dust lingers. Chemicals seep in. Debris piles up. It’s all a hazard.
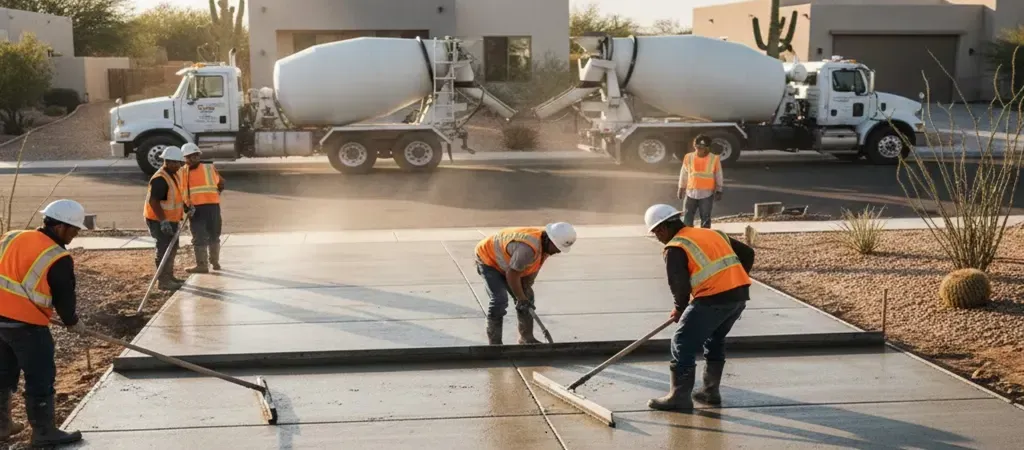
Planning a large project? Our team handles everything from prep to finish. See how we deliver on commercial concrete jobs in El Paso.
The Final Word: Surface Prep = Pavement That Lasts
Great pavement isn’t magic—it’s science. And that science starts with proper surface prep. Stick to these steps, and your concrete won’t just look good. It’ll last. Driveway? Sidewalk? Parking lot? Doesn’t matter. Get the prep right, and your concrete will thank you.
Need expert concrete surface preparation? Want concrete that stays strong for years? We’ve got you covered. Our expert prep services ensure a flawless, long-lasting finish. No cracks. No shortcuts. Just solid results.
Call us today for a free consultation. Let’s make your pavement last!